Here is a look at the finished table 1 of 2.
Here is a look at the finished table 2 of 2.
I started with a design on AutoCAD so I was able to plan all my cuts. The entire project was done with 1 sheet of 4x8 3/4"sanded plywood, a 2x4 3/4" piece of MDF, 4 old banister rails (cut for the feet), 4x100 lbs. rate rail slides, 1 can of green spray paint, 3 cans of brown spray paint and 2 cans of clear coat spray.
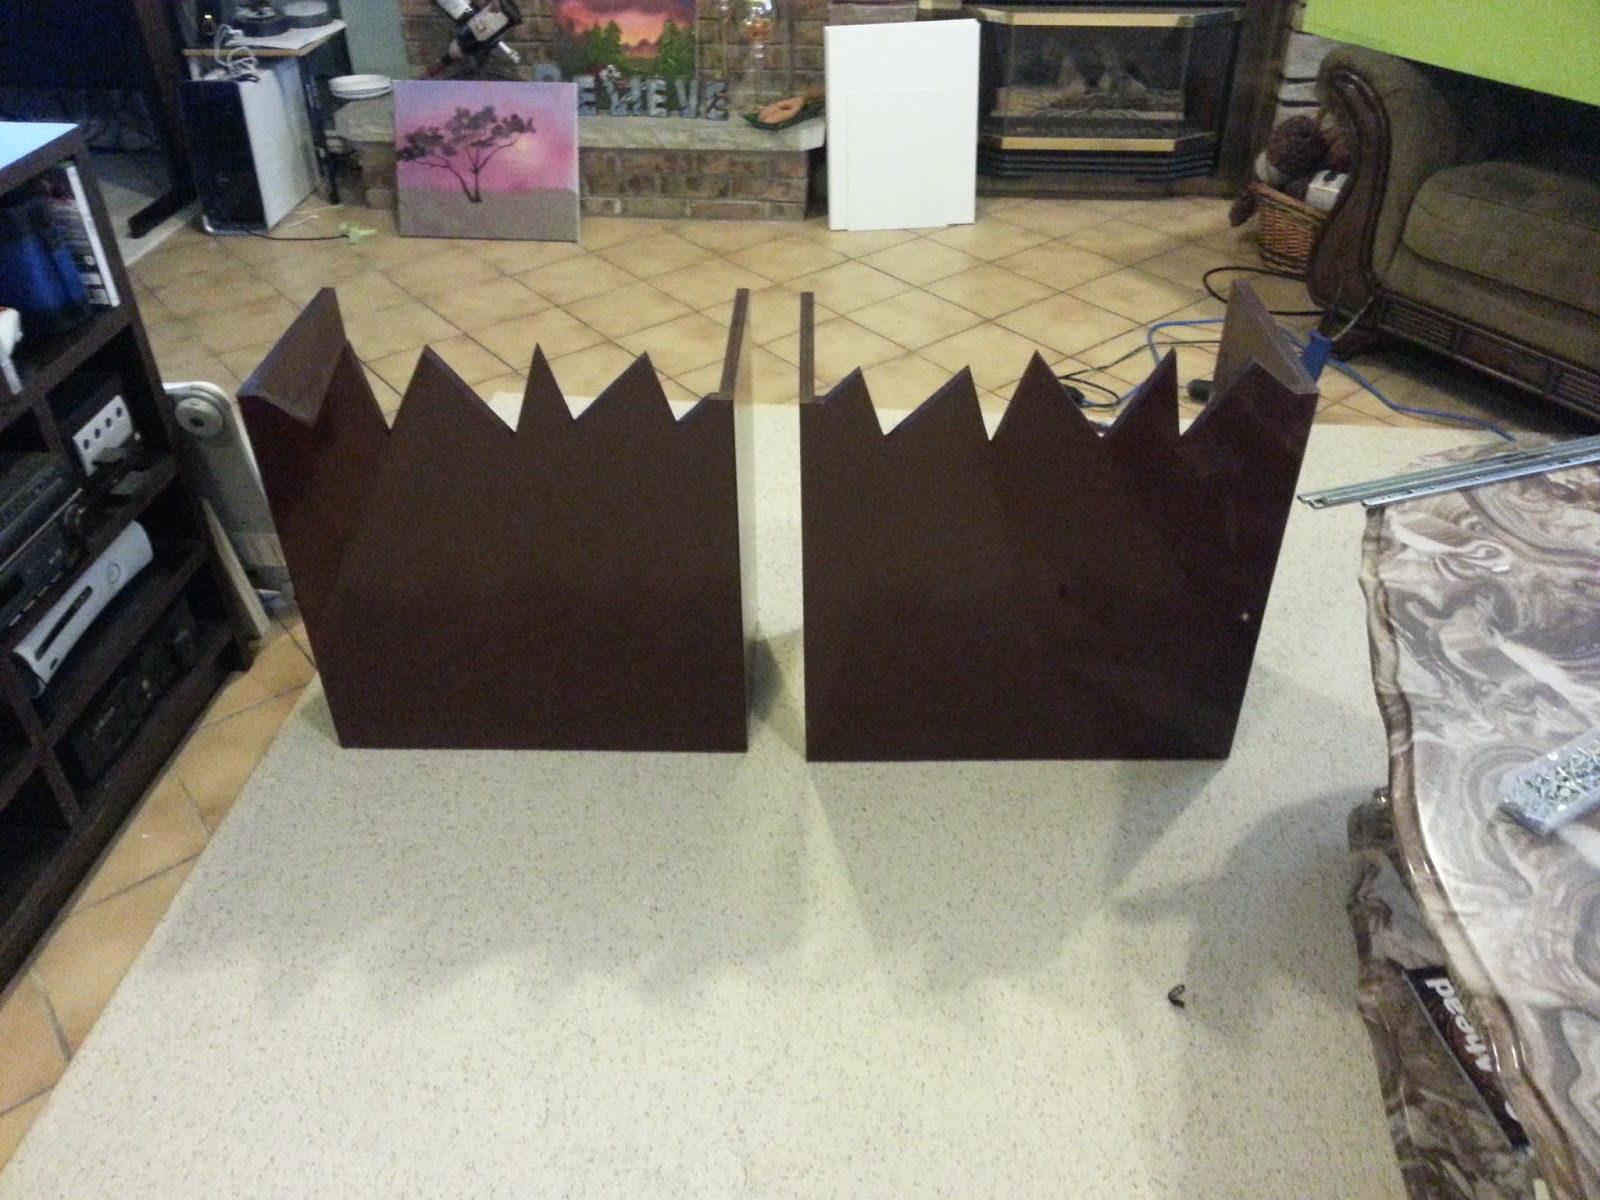
I first created the 2 top halves with the top sides screwed on as well. With both pieces having properly sized vertical pieces attached to an over sized top piece on both parts, I used a jig saw to cut the crack pattern in one side and then laid the cut part over the other over sized part and traced the pattern.
I then made the bottom portion. The 2x4 MDF was used as the base just so I didn't have to buy another $50.00 piece of plywood. Both rails were added at this stage so holes could be placed before paint.
The top pieces were fit on the tracks before paint.
The base/inside was painted green for great colour contrast and rails reattached.
The tops/outsides received brown on tops, edges and about 3 inches on the inside as only a very small amount would be shown.
The legs are just the ends of some spindles I had removed from a room dividing wall earlier, cut to length and sprayed brown. They are simply screwed through the inside of the table down.
Complete!


No comments :
Post a Comment