This shed build could only be completed after the concrete pad was ready. See my post on pouring the pad here:
First I designed the shed in AutoCAD so I could calculate how much and what type of lumber I needed.
The first step was building all 4 walls on the ground, standing them up and screwing them together. Next while checking for level and square I screwed on the plywood sheathing. Once the sheathing is screwed in a few places this makes the whole shed rigid so it better be square before you go any further.
I had the door installed on the hinge side only while I was squaring the shed to make it easier to gauge levelness. Once the plywood was installed the door was fully shimmed and mounted.
The base plate was made of pressure treated wood to help avoid rot. The base plates were drilled out for the bolts sticking out of the concrete as well as the electrical conduit. The base plates were bolted down with a washer and nut.
The windows will sit between the 4 studs with the cross bracing between them.
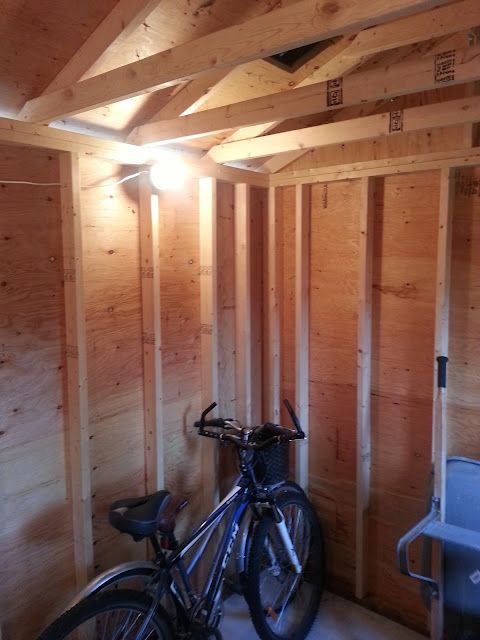
The roof overhangs on all sides by 1 foot. It is a gable roof with a center runner beam and 2 side beams to keep the rafters straight.
I started the roof with the center beam with 2x4s going down perpendicular to the interlocking top plates. Once that was installed it was easy to install the pre-angle cut and bird-mouth cut 2x4 rafters.
The roof was shingled to match the house. A starter strip was laid front side down and the shingles overhang 1" on all sides. I used a reciprocating saw to simply follow the studs and cross bracing while cutting out the plywood for the windows. There are 2 roof vents on the back side so they can't easily be seen for aesthetics.
The windows were installed with 6 screws through each. J-channel was nailed on around the windows and door. Vinyl starter strips were added along each bottom side of the shed. The 4 corner pieces were then added.
I use my sliding miter saw to cut the siding pieces to length and tin snips to cut any angles or top/bottom of window cuts.
Tin snips were used to cut the siding piece around the door frame.
The 14-2 cable was pulled from the house and landed in a duplex receptacle 1 foot off the ground. From there the cable was run up through the switch and into the first light.
From the first light the cable was run through holes drilled in the studs to the second light int he back corner.
Cross bracing between all rafters at the top were added for a much stronger roof. Cross bracing between 3 rafters at the back at the bottom were added for strengthening the roof and walls. There are only 3 lower braces at the back as I use them to store the sleds for winter up there.
I did not buy soffit of fascia so I simply painted all the exposed 2x4s with white outdoor paint (3 coats). For the soffit I installed bug screen to the underside all around the shed. It is very well ventilated. A J-channel caps the top of the siding. Complete!


It seems easy to build a storage shed to provide that additional space around the house. However, without at least some experience in this field and the right tools and equipment, things could go absolutely wrong especially during bad weather conditions. It is still advisable to seek professional help to prevent unnecessary accidents.
ReplyDeleteWhat?
DeleteThis comment has been removed by the author.
DeleteThis type of message always inspiring and I prefer to read quality content, so happy to find good place to many here in the post, the writing is just great, thanks for the post. how to keep birds off your balcony
ReplyDelete